Build a Dashboard with Django and Bootstrap: Part 1 – Developer Blog
| Created | |
|---|---|
| Tags | |
| URL | https://blog.via-internet.de/en/2020/02/21/build-a-dashboard-with-django-and-bootstrap-part-1/ |
This is Part 1 of Building a Dashboard with Django and Bootstrap:
Introduction
Building a complete web app isn’t always an easy task. Designing and Implementing on both sides (backend and front-end) requires mostly a lot of knowledge. So, why don’t using tools or framework, which helps and makes our life easier. Django is one of these frameworks:
Django is a high-level Python Web framework that encourages rapid development and clean, pragmatic design. Built by experienced developers, it takes care of much of the hassle of Web development
So, let’s get started.
Create project
For subsequent steps, we will remember our starting directory
First step is to create our main Django project
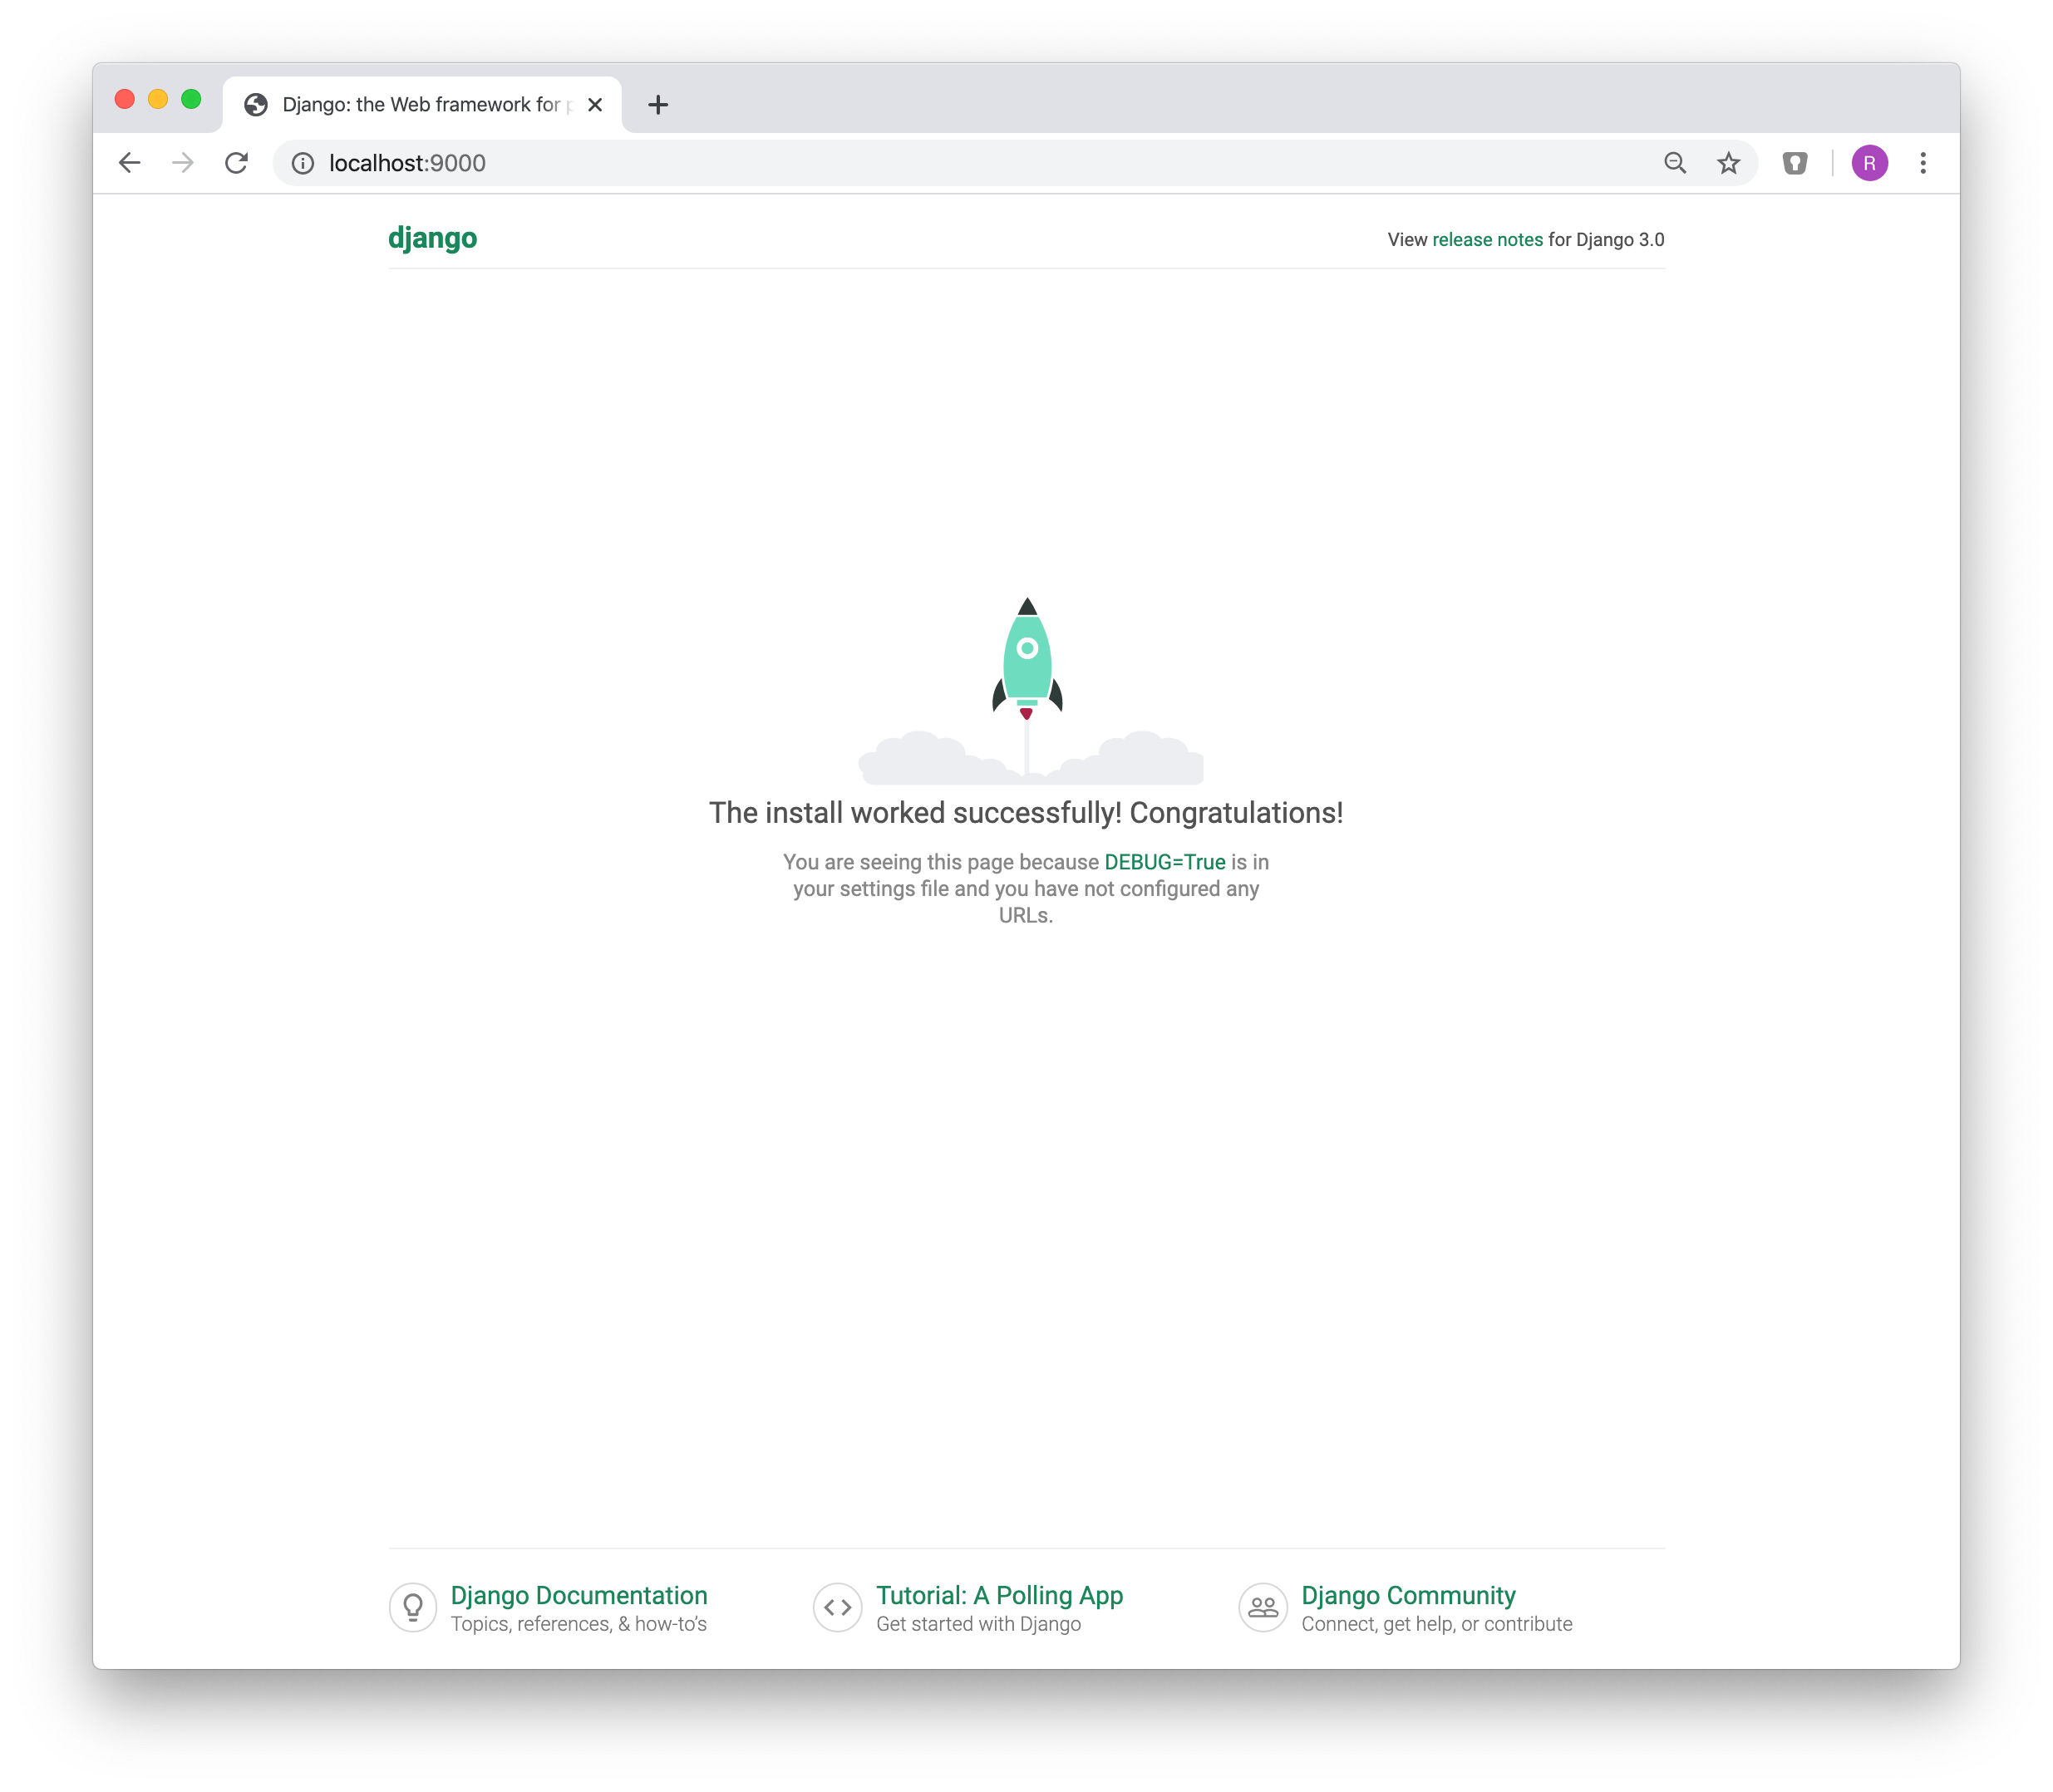
View current project in browser
Create first apps
Add new apps to project
Modify dashboard/settings.py
Modify dashboard/urls.py
Create view
Modify view in apps/frontend/views.py
Create template for frontend View
Create template file dashboard/apps/frontend/templates/frontend/index.html
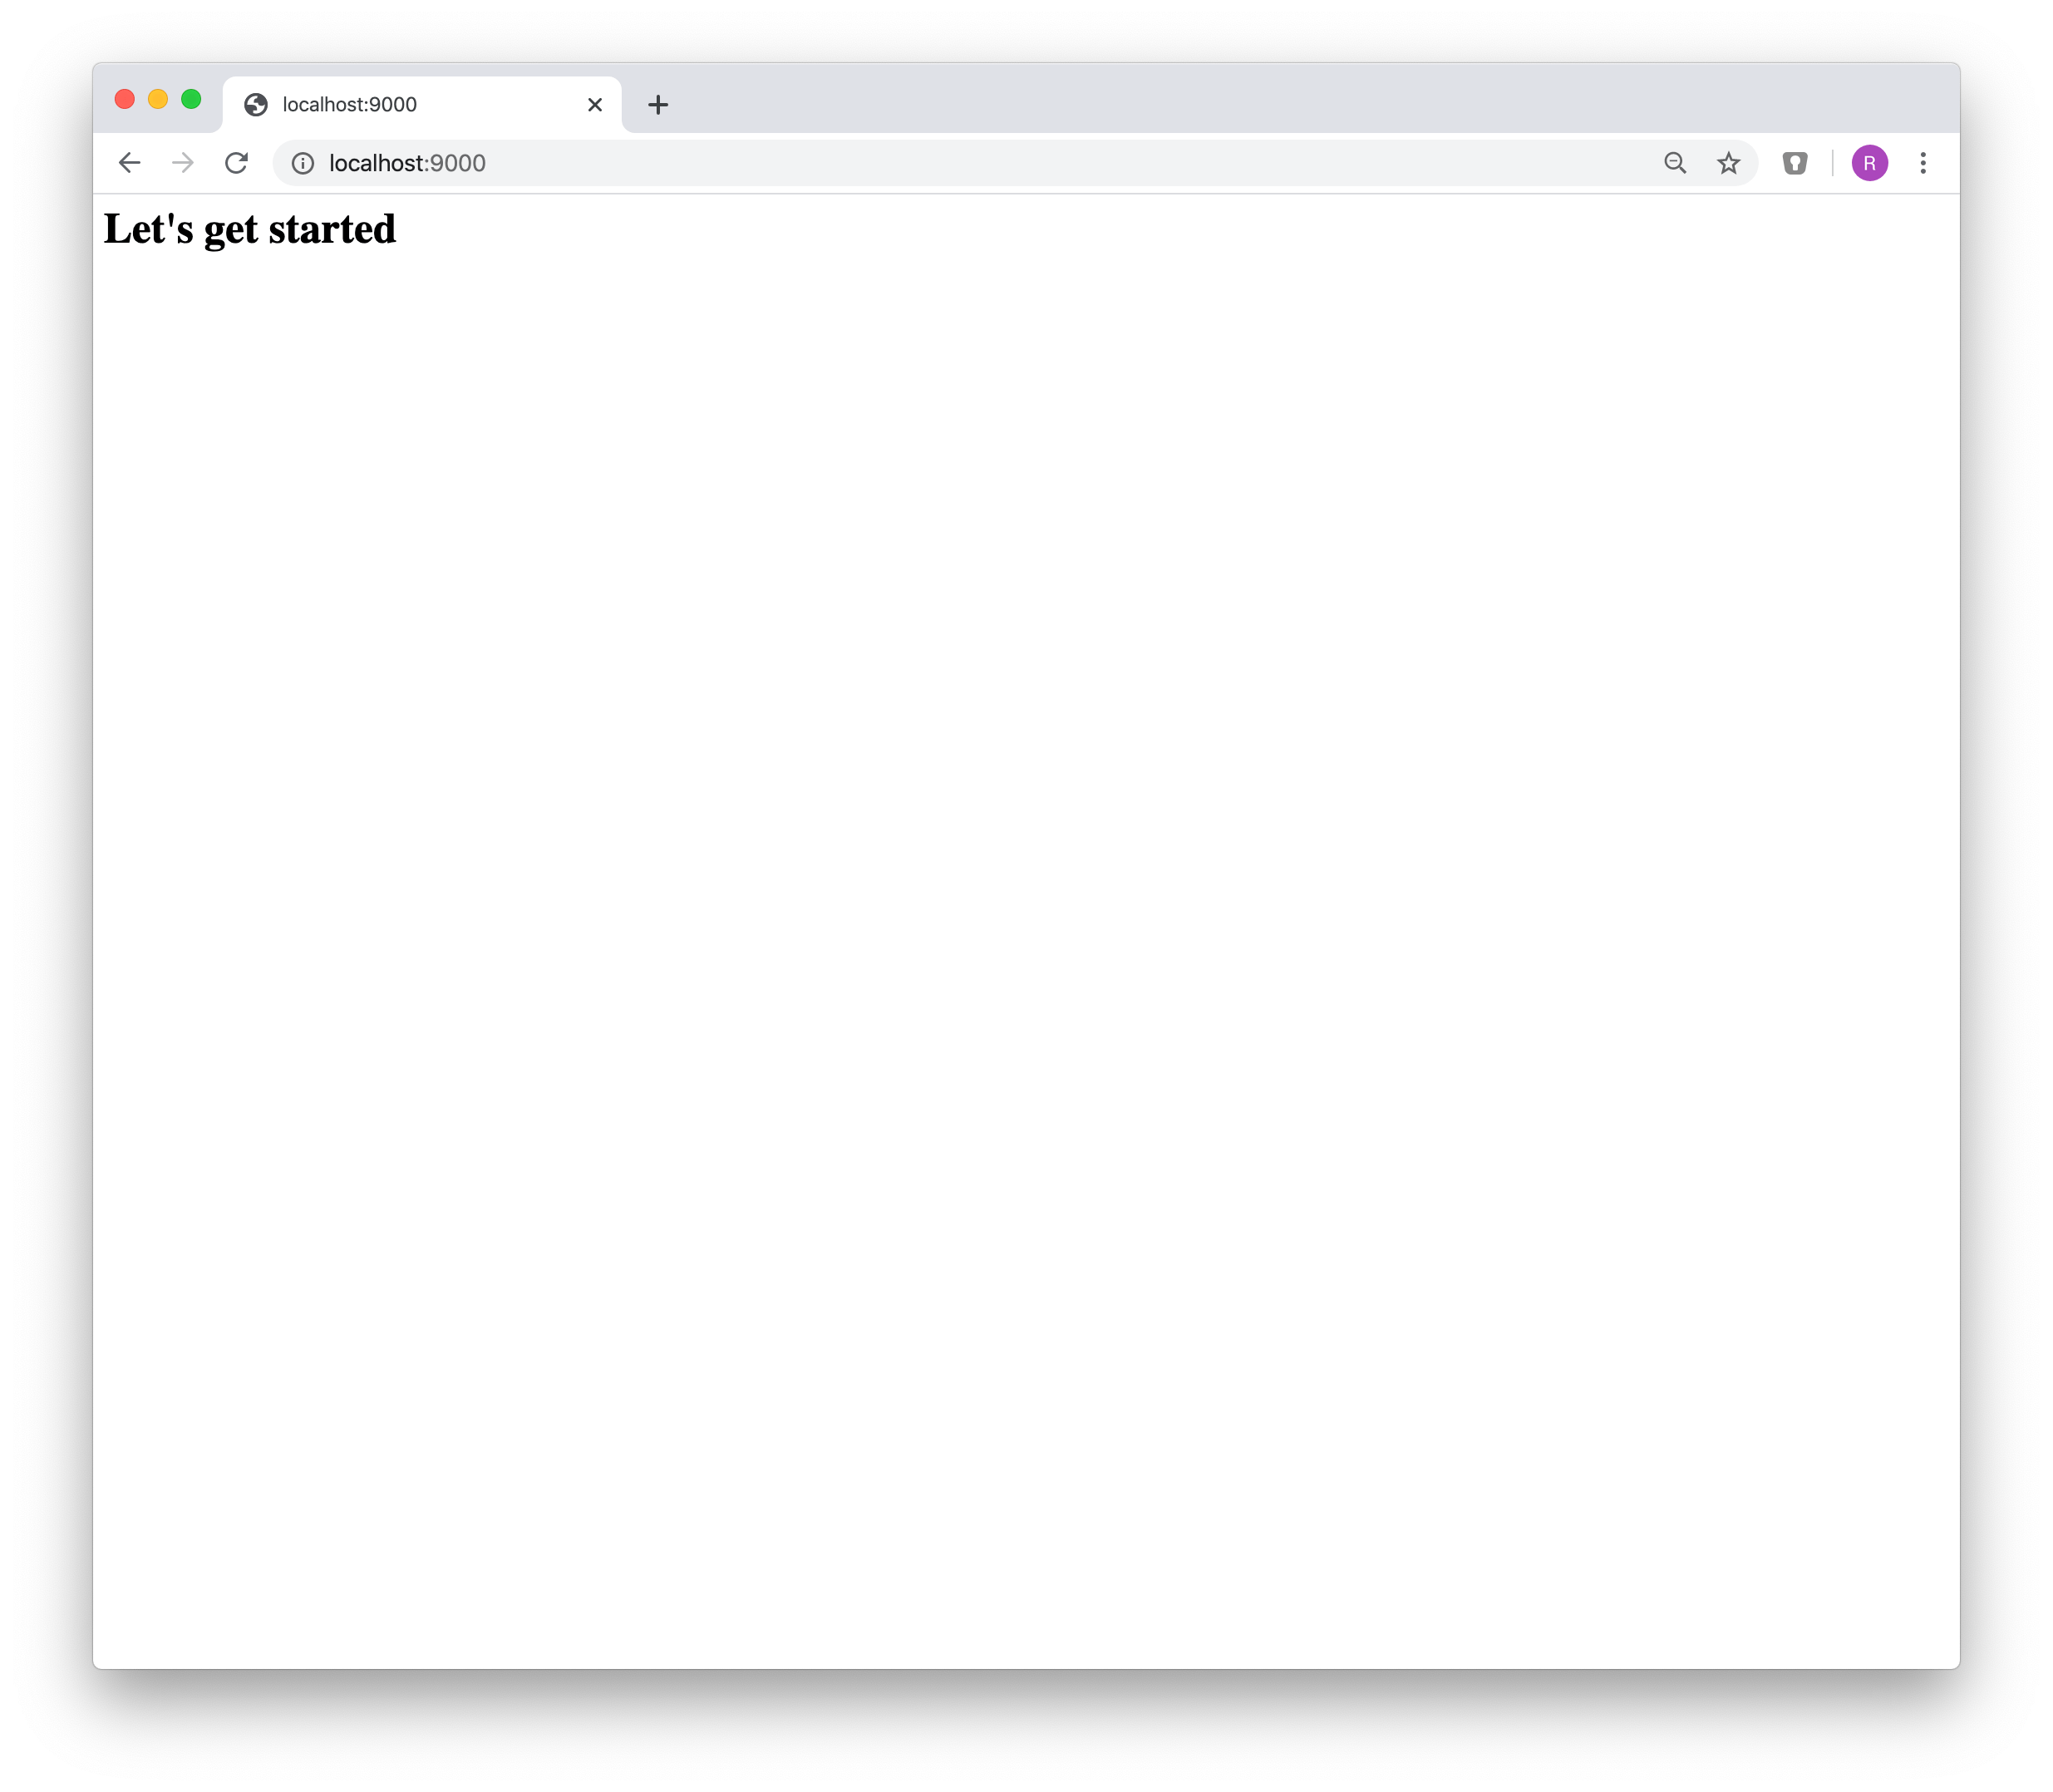
View current project in browser
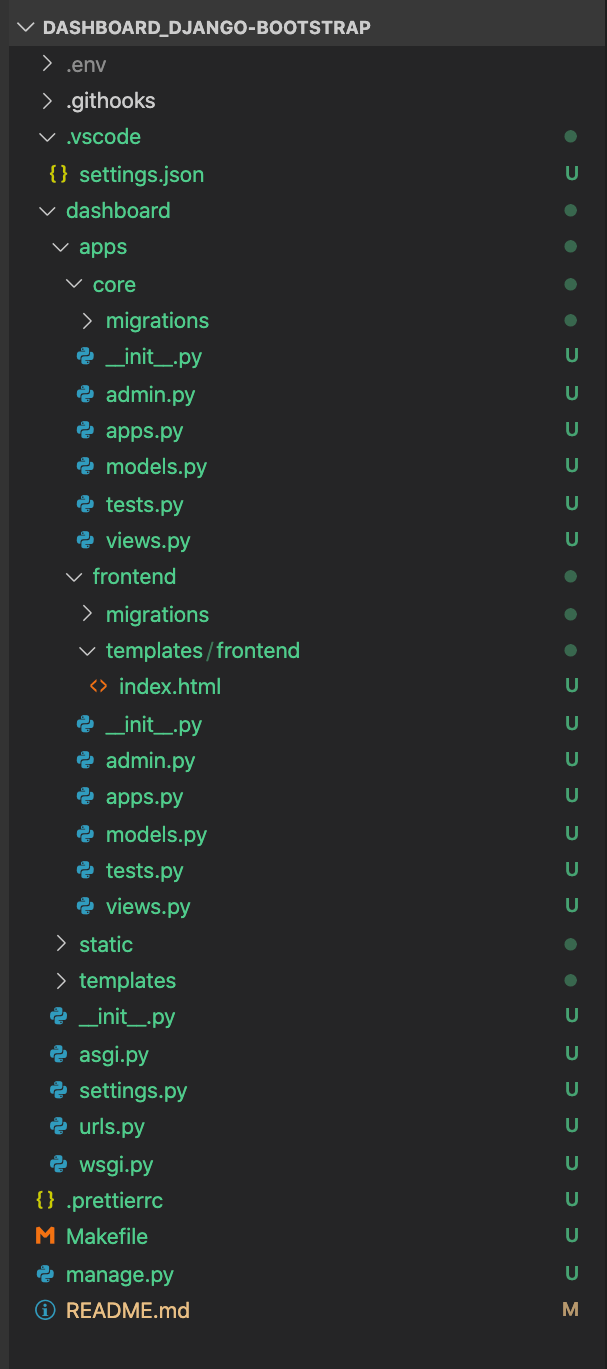
Current folder Structure
So far, we have the following folder structure
Prepare for administrate your project
Create admin user
Add Bootstrap support
Download requires files for Bootstrap, jQuery ad PopperJS
Create site templates in dashboard/templates/site
File dashboard/settings.py
Add static path to settings
File dashboard/settings.py
Modify frontend view template
File dashboard/apps/frontend/templates/index.html
<div class="container"></div>
<div class="container full"></div>
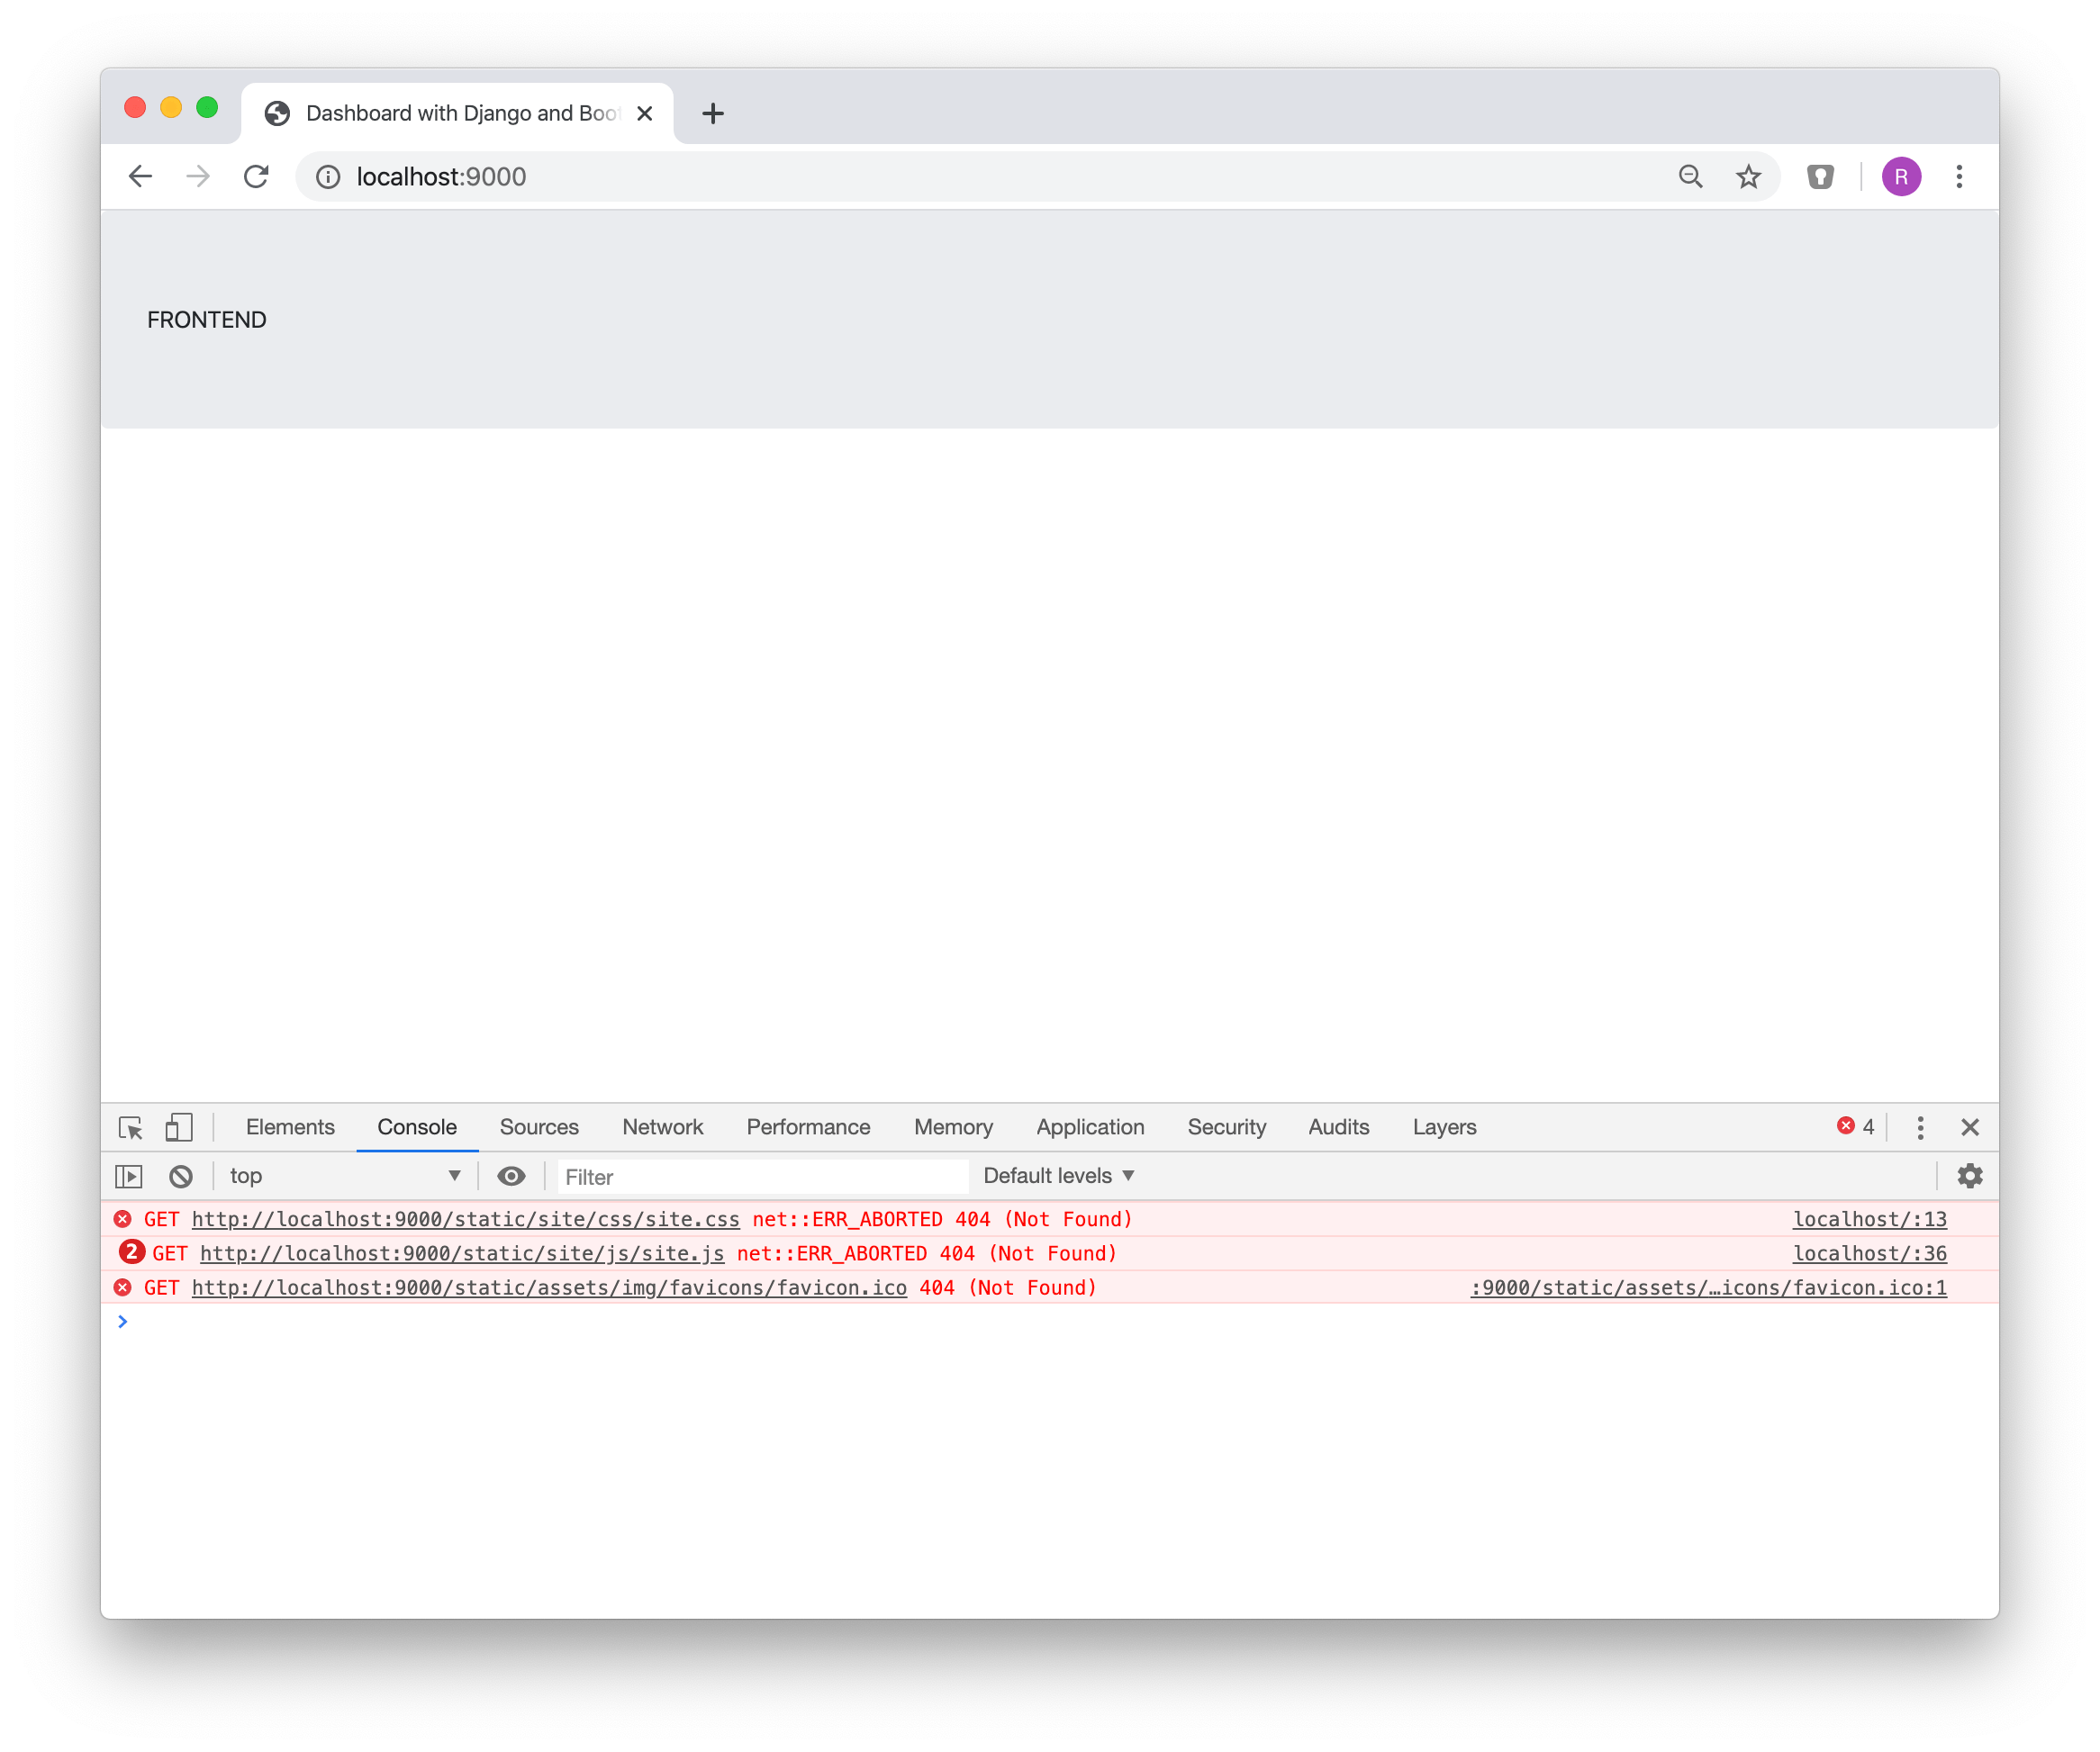
View current status of project
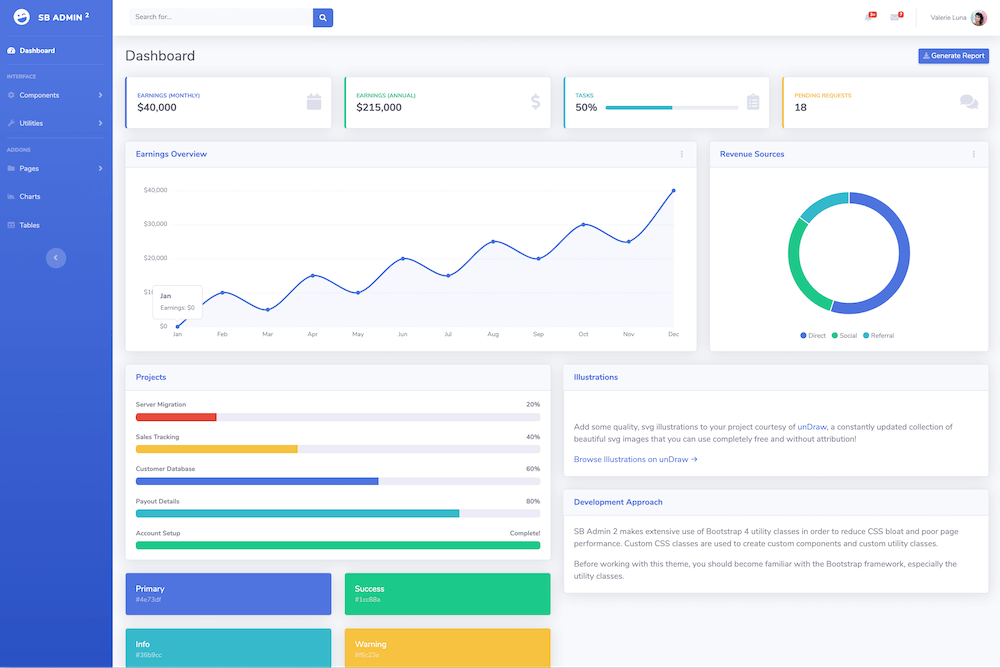
Add dashboard from an existing template
For a first start, we will use this sb-admin-2 dashboard template from here:
Download required files
Bootstrap templates consist of at least 3 different types of files
- main index.html page, responsible for collection all elements and set up your page
- CSS files defining the style of your page
- JavaScript files, containing needed frameworks and code
So, first start by downloading the sample template from here. Be sure, you start in our project root folder:
Next, find out, what we need for our template in addition to the file index.html
<link href="vendor/fontawesome-free/css/all.min.css" rel="stylesheet" type="text/css">
<link href="https://fonts.googleapis.com/css?family=Nunito:200,200i,300,300i,400,400i,600,600i,700,700i,800,800i,900,900i" rel="stylesheet">
<link href="css/sb-admin-2.min.css" rel="stylesheet">
That’s a lot of additional files.
To keep the file structure consistent, these files should be stored under the dash/board/static folder (same as the bootstrap files before).
To achieve this, there are two possibilities:
- Create desired folder and copy each of the source files to the destination folder
We use the second option to keep the focus on creating our dashboard.
So, first, clone the repository:
Then, copy the requred files
Having everything needed for the dashboard template, the next step is to modify the front-end template
File dashboard/apps/frontend/templates/frontend/index.html
View current project in browser
Perfect. We are done with the basic setup.
Still some work to do, because our dashboard is only a static dashboard. All content is programmed in the dashboard template file dashboard/templates/site/sb-admin-2/base.html
For example, look at the cards with the earnings at the top:
To achieve a more dynamic content, we need to move the desired parts of the dashboard from the template file to the front-end view file.
This will be described in the next step: Part 2: Prepare for dynamic content